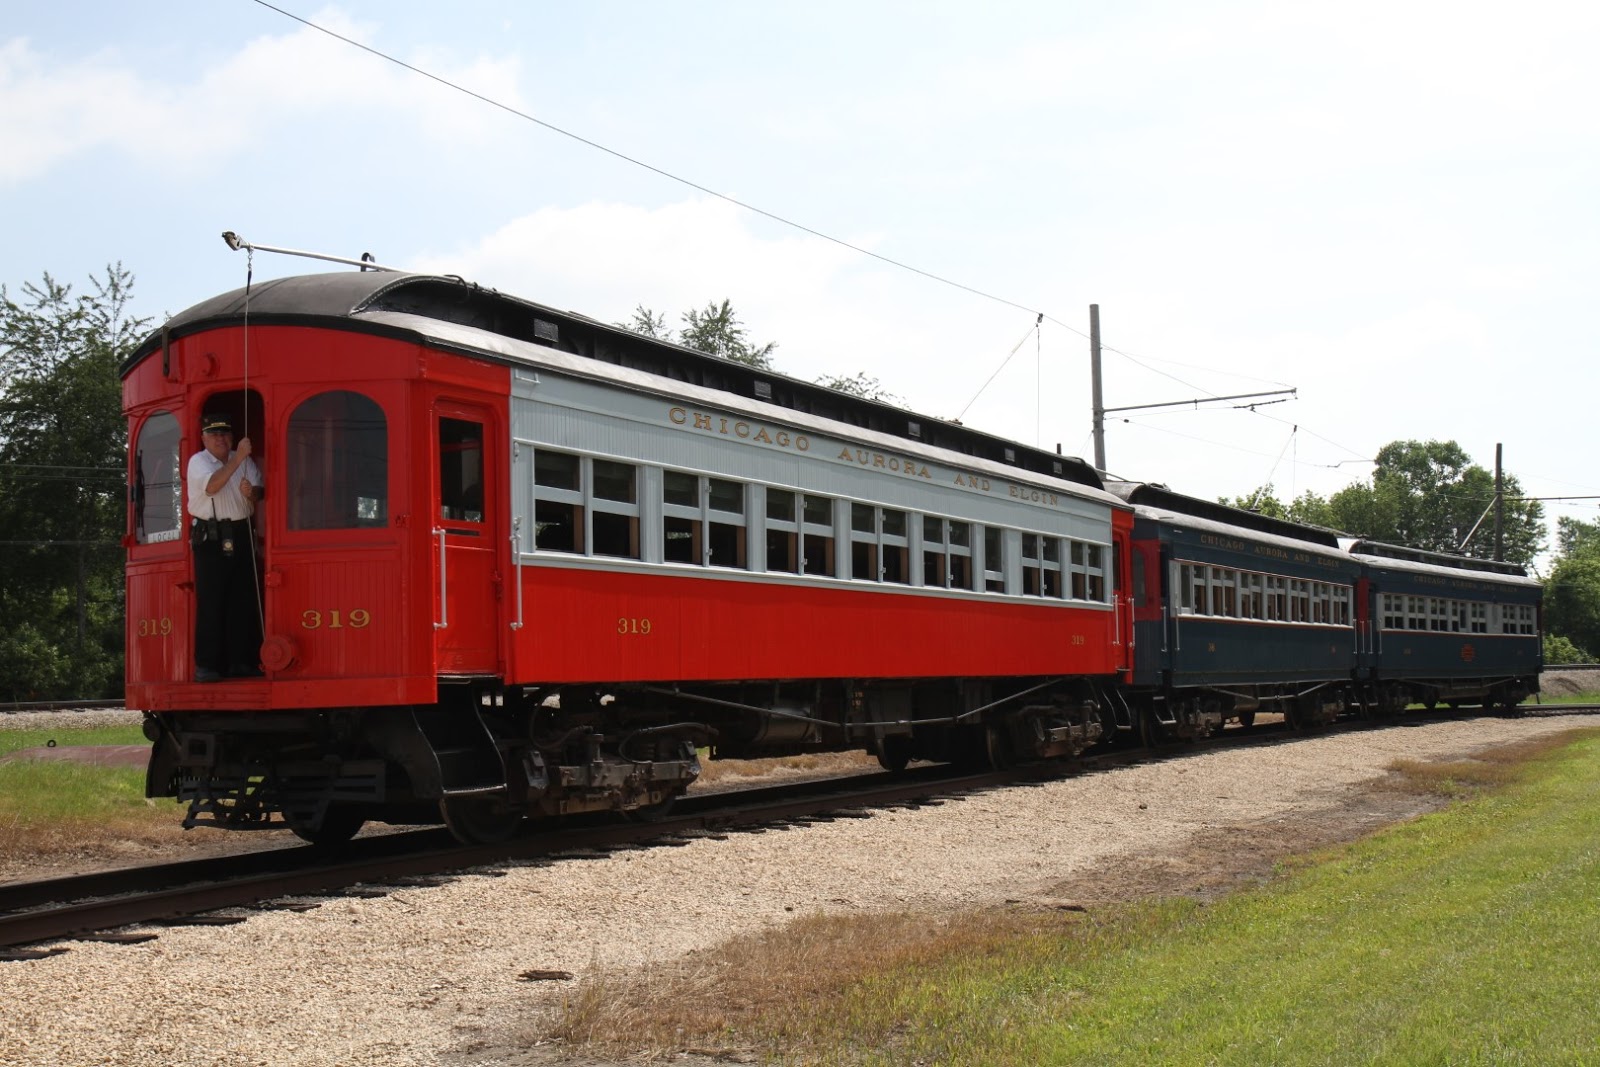
While looking through some old papers, I came across a sheet with calculations I made several years ago, trying to figure out what actual resistances were used in the control system for the wood cars. It's rather cryptic, so I reformatted it and added some explanations. This should apply to all CA&E cars with GE-66 motors.
We start with the data for the grid elements used on these cars, taken from the GE data sheet:
Grid
Type
|
Resistance
(ohms)
|
Current
Rating (amps)
|
4
|
0.023
|
75
|
6
|
0.038
|
60
|
7
|
0.047
|
55
|
8
|
0.059
|
50
|
I might note that because our grids are old and rusty, the actual resistance may be higher than the nominal value.
Then here is the resistance part of the motor circuit schematic. R1 through R7 are labels both for the contactors, and for the resistances between them. It should generally be evident from context which is which. All of these contactors are connected to the 600V supply when the trolley contactors are closed. RX is just my name for a junction point in the circuit.
The next table lists the arrangement of grid elements in each box, the total resistance of each group, and the effective resistance for the resistors shown in the schematic.
|
Box
|
Grid
Arrangement
|
Connections
|
Resistance
(ohms)
|
Resistor
#
|
Total
Resistance
|
|
1
|
8A10
|
R1-R3
|
0.590
|
R1
|
0.590
|
|
6A8
|
R3-R4
|
0.304
|
R3
|
0.456
|
|
2
|
6A4
|
0.152
|
|
4A14
|
R4-R4A
|
0.322
|
R4
|
|
|
3
|
6A18
|
R2-RX
|
0.684
|
R2
|
0.682
|
|
4
|
4A10
|
R4A-RX
|
0.230
|
R4
|
0.552
|
|
7B8
|
RX-R7A
|
0.094
|
R7
|
|
|
5
|
8A7
|
R5-R6
|
0.413
|
R5
|
0.413
|
|
6A5
|
R6-R7
|
0.190
|
R6
|
0.190
|
|
7B6
|
R7A-R7
|
0.071
|
R7
|
0.165
|
Note that some of the resistors are split between two boxes: R3, R4, and R7.
Now, starting with the control sequence, we can calculate the total resistance on each point as the controller is advanced. I also calculated the percentage by which the resistance is decreased on each step. Points 1 through 5 are series, 6 through 10 are parallel.
|
Point
|
Contactors
Closed
|
Resistors
in Circuit
|
Total
Resistance (ohms)
|
%
of Previous Point
|
|
1
|
R1
|
R1+R3+R4+R7
|
1.76
|
--------
|
|
2
|
R1,R3
|
R3+R4+R7
|
1.17
|
66%
|
|
3
|
R1,R3,R4
|
R4+R7
|
0.72
|
61%
|
|
4
|
R1,
R3 to R5
|
(R5+R6)║(R4+R7)
|
0.33
|
46%
|
|
5
|
R1,R3
to R7
|
None
|
0
|
0
|
|
6
|
R2
|
R2+R7
|
0.85
|
--------
|
|
7
|
R2
to R4
|
(R2║R4)
+ R7
|
0.47
|
55%
|
|
8
|
R2
to R5
|
((R2║R4)
+ R7) ║ (R5+R6)
|
0.27
|
57%
|
|
9
|
R2
to R6
|
((R2║R4)
+ R7) ║ R6
|
0.135
|
50%
|
|
10
|
R2
to R7
|
None
|
0
|
0
|
+ means “in series
with” ║ means “in parallel with”
So starting with the question "Why in the world did this have to be so complicated?" we have a least a partial answer. This was really an interesting problem to work out.